


How to Tile a Mosaic Backsplash for Your Kitchen?

Mosaic backsplash for the kitchen can transform the entire look and feel of your culinary oasis. Whether you're a seasoned DIY enthusiast or a newcomer to the world of home improvement, tiling a mosaic backsplash is an exciting and rewarding project that allows you to showcase your creativity and elevate your kitchen's aesthetic appeal.
In this blog, we will take you step-by-step through the process of tiling a mosaic backsplash for your kitchen, from essential tools and materials to grouting and finishing touches.
Before getting started, safety tip: Always wear the appropriate safety equipment (safety glasses, disposable gloves, and a mask, for example), and always follow the instructions for the product or equipment.
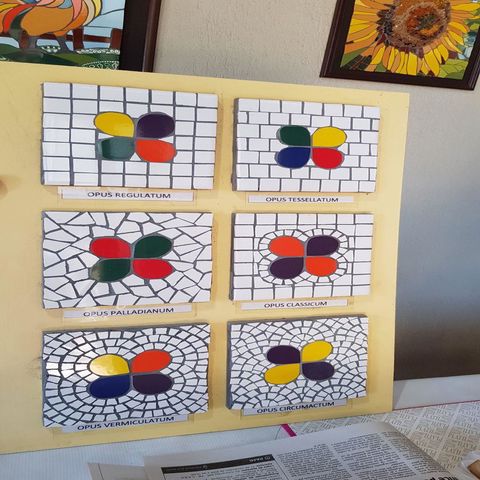
Choosing the Suitable Mosaic Tile Design
Choosing the perfect mosaic tile design for your kitchen backsplash is an exciting opportunity to infuse your style and create a stunning focal point in the heart of your home.
Start by identifying the theme or style you want to achieve in your kitchen. Do you prefer a sleek and contemporary look, a cozy rustic ambiance, or a vibrant and eclectic space? Understanding your desired style will guide you in choosing a mosaic tile design that aligns with your vision.
Mosaic tiles come in various materials, such as ceramic, glass, porcelain, or natural stone, each with its unique characteristics. Consider the durability, maintenance requirements, and desired texture of the tile material to ensure it suits your kitchen's needs and complements your chosen design.
Consider the size of your kitchen and the backsplash area. Large-scale patterns and bold designs might overpower a small kitchen, while intricate details might get lost in a large, open space. Achieving the right scale and proportion will ensure that the mosaic tile design enhances the overall balance and harmony of your kitchen.
Preparing the Backsplash Area
Preparing the backsplash area before installing a mosaic tile is crucial to ensure a smooth and successful installation.
You can start clearing your workspace. Remove all objects, appliances, and accessories from the area around the backsplash. Clearing the workspace will provide you with a clean and clutter-free area to work with, making the preparation process easier and more efficient.
After clearing your area, cover the countertops, cabinets, and any other surfaces adjacent to the backsplash area with drop cloths or plastic sheets. This will prevent accidental damage or staining from any debris, adhesive, or grout during the tiling process.
You may repair any holes or uneven areas with spackling compound or drywall putty. Sand the surface to create a smooth and even base for the tile installation.
Installing Mosaic Tiles
Mosaic tiles come in a diverse selection of sizes, materials, styles, and colors, catering to your personal preferences. Furthermore, their fiberglass mesh backing simplifies the process of cutting the sheets to fit beneath windows and around outlets using tile nippers or a utility knife.
Installing mosaic tiles for your kitchen backsplash requires attention to detail and careful execution. However, we will walk you through all the steps so you can go into this project feeling confident!
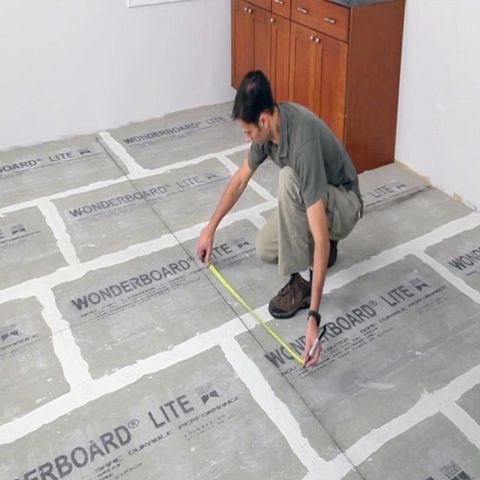
Setting Up the Tile Layout
When it comes to laying out a tile backsplash, start by measuring the dimensions of the backsplash area where you plan to install the tiles. This will give you an idea of how many tiles you'll need and help you plan the layout accordingly.
Before applying any adhesive, it's a good idea to do a dry layout of the tiles. Place the tiles on the wall without adhesive to get a visual representation of how they will look once installed.
Establish a centerline on the wall by using a level and drawing a vertical line from top to bottom. This line will serve as a reference point for your tile installation. If there's a focal point in the area, such as a range hood or a sink, consider aligning the centerline with it to create a symmetrical and aesthetically pleasing look.

Applying Thinnest Adhesive
The proper consistency of the thinset can determine the outcome of a tile installation, distinguishing between a successful one and a poor one.
Begin with a clean and empty bucket that is sufficiently large to accommodate the thin-set being prepared. A 5-gallon bucket is commonly used, and pour in a few inches of clean water.
After the water is already in the bucket, introduce a portion of the thinset from the bag. Initially, add enough to absorb the water in the bucket. Later on, you can adjust the mixture's consistency by adding more water or thin-set as needed.
While mixing, you can manually perform the task using a margin trowel, but using a mixing paddle can make the process more convenient.
Continue adding water or additional thin-set until the desired consistency is achieved. When mixed properly, the thinset should be firm enough to adhere to your finger without detaching.

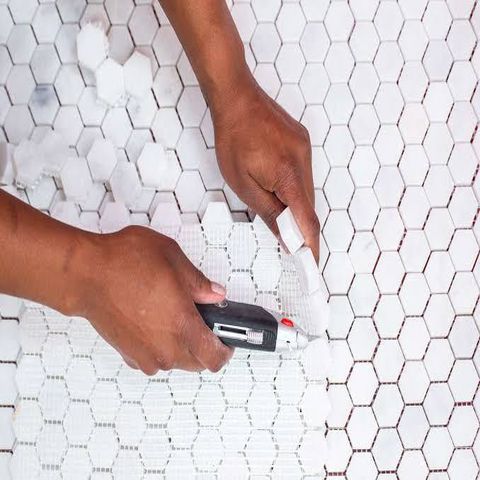
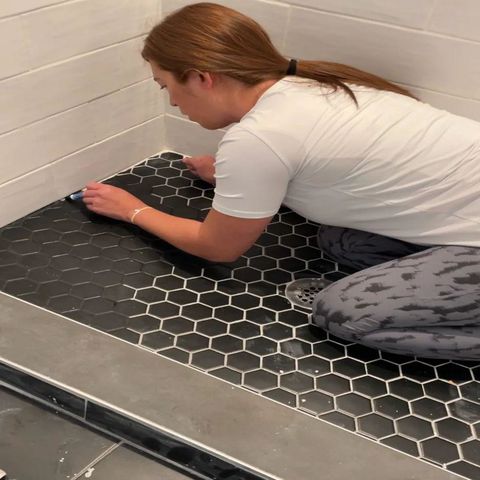
Placing and Installing the Mosaic Tiles
Begin the tile installation process by placing and aligning the complete tile sheets with your reference marks. These marks will remain visible through the thin-set mortar. Utilize tile spacers to maintain consistent spacing between the sheets. After applying a sheet, gently pull it back to inspect for any gaps. If necessary, add additional thin-set mortar to fill any voids.
Grouting and Finishing
After the tile adhesive has dried completely, typically within 24-48 hours, you can proceed to grout. Prepare the grout according to the manufacturer's instructions and apply it to the gaps between the tiles using a grout float. Wipe off excess grout with a damp sponge and allow it to cure as per the instructions.
Once the grout has fully cured, typically after a few days, buff the tiles with a soft cloth to remove any haze or residue. Apply a tile sealer to protect the grout and tiles from stains and moisture, following the product recommendations.
Maintenance Tips for Mosaic Backsplash in Your Kitchen
When professional tile installers put mosaic tiles in place, they typically use a sealing substance to provide a protective layer. The sealant can either permeate both the tiles and the grout or just the grout, depending on the tile type.
In any case, this step in the installation process simplifies the regular maintenance of your tiles. Sealants are utilized to create a barrier that prevents the infiltration of water and other liquids into or around the tiles. They also protect against stains and help minimize the development of mildew.
To keep your mosaic tiles in good condition, it's advisable to sweep or dust them frequently. This practice helps prevent dirt and debris from settling into the grout or forming a layer on the tiles. By promptly addressing these issues, you can avoid larger, more challenging cleaning problems in the future. Aim to sweep your tile floors daily or dust your mosaic walls every few days. You can also consider using a soft brush attachment on a vacuum cleaner.
Moreover, make sure to immediately clean up any spills to minimize the risk of water damage or stains.
Regularly giving your tiles a quick wash is also recommended. Mopping is typically suitable for tile floors while wiping the surface with a damp sponge is more appropriate for walls, backsplashes, or counters. When cleaning in these ways, ensure that the cleaning product you use is safe for tiles. Ceramic and porcelain tiles can generally withstand mild detergents.
However, when dealing with natural stone tiles, it's important to be more selective with cleaning products. Opt for a neutral pH cleaning product and avoid bleach or acid-based cleaners, including vinegar, as they can harm the stone's appearance.
After applying a cleaning product, rinse the tiles thoroughly with clear water, and then dry the surface completely using a soft cloth.
For mosaic tile floors, aim to mop them approximately once a week. Backsplashes and counters may require a similar cleaning schedule, while some walls can be cleaned every couple of weeks.
You can reach our previous article from https://www.artmasterclass.com.au/blogs/news/garden-design-ideas-incorporating-ceramics-into-your-garden